


Oats bread is so very soft that you would really love to serve yourself a couple of extra slices than you would normally do. I just wanted to play around with the basic white bread recipe so added a little oats this time and it turned our so very soft that I am hooked onto it. Love the way the bread rises and the softness in the slices
I have an addiction towards baking breads these days and yes it really is so wonderful. It makes me so happy after my rest my dough to come later to see a well-risen beautiful loaf. The crust, the slice, the taste everything seems better. The best part is the aroma that fills my kitchen every time I bake a bread. Once you try you will be awe as to how much you get into the addiction
Hands on time when making a bread loaf is not much except the times when you have take pictures at every step ;) It just takes about a good 15 minutes the first time to make the dough then it is all a matter of waiting with patience ... which I dont have as I peek into it every now and then to see if its rising perfect :)


Serve option... Room temp
This is what u'll need...
Maida / All-purpose flour - 2 1/2 cup
Instant Oats - 1 cup
Active dry yeast - 2 tspn
Sugar - 1 tbspn
Oil - 2-3 tbspn
Milk - 1 1/2 cup
Salt - 1 tspn
Instant Oats - 1 cup
Active dry yeast - 2 tspn
Sugar - 1 tbspn
Oil - 2-3 tbspn
Milk - 1 1/2 cup
Salt - 1 tspn
Here is the stir....
- Measure 1/2 cup of lukewarm milk into a bowl. Add 2 teaspoons of yeast and a tablespoon of sugar to it. Give it a good stir and let it sit covered for about 15 minutes or till it becomes frothy. For more detailed instructions on how to proof yeast check out the instructions here -> How to proof yeast

- Measure about 2 1/2 cups of all-purpose flour into a wide bowl

- Add a cup of instant of oats to a blender jar

- Grind it to a fine powder and add it to the flour

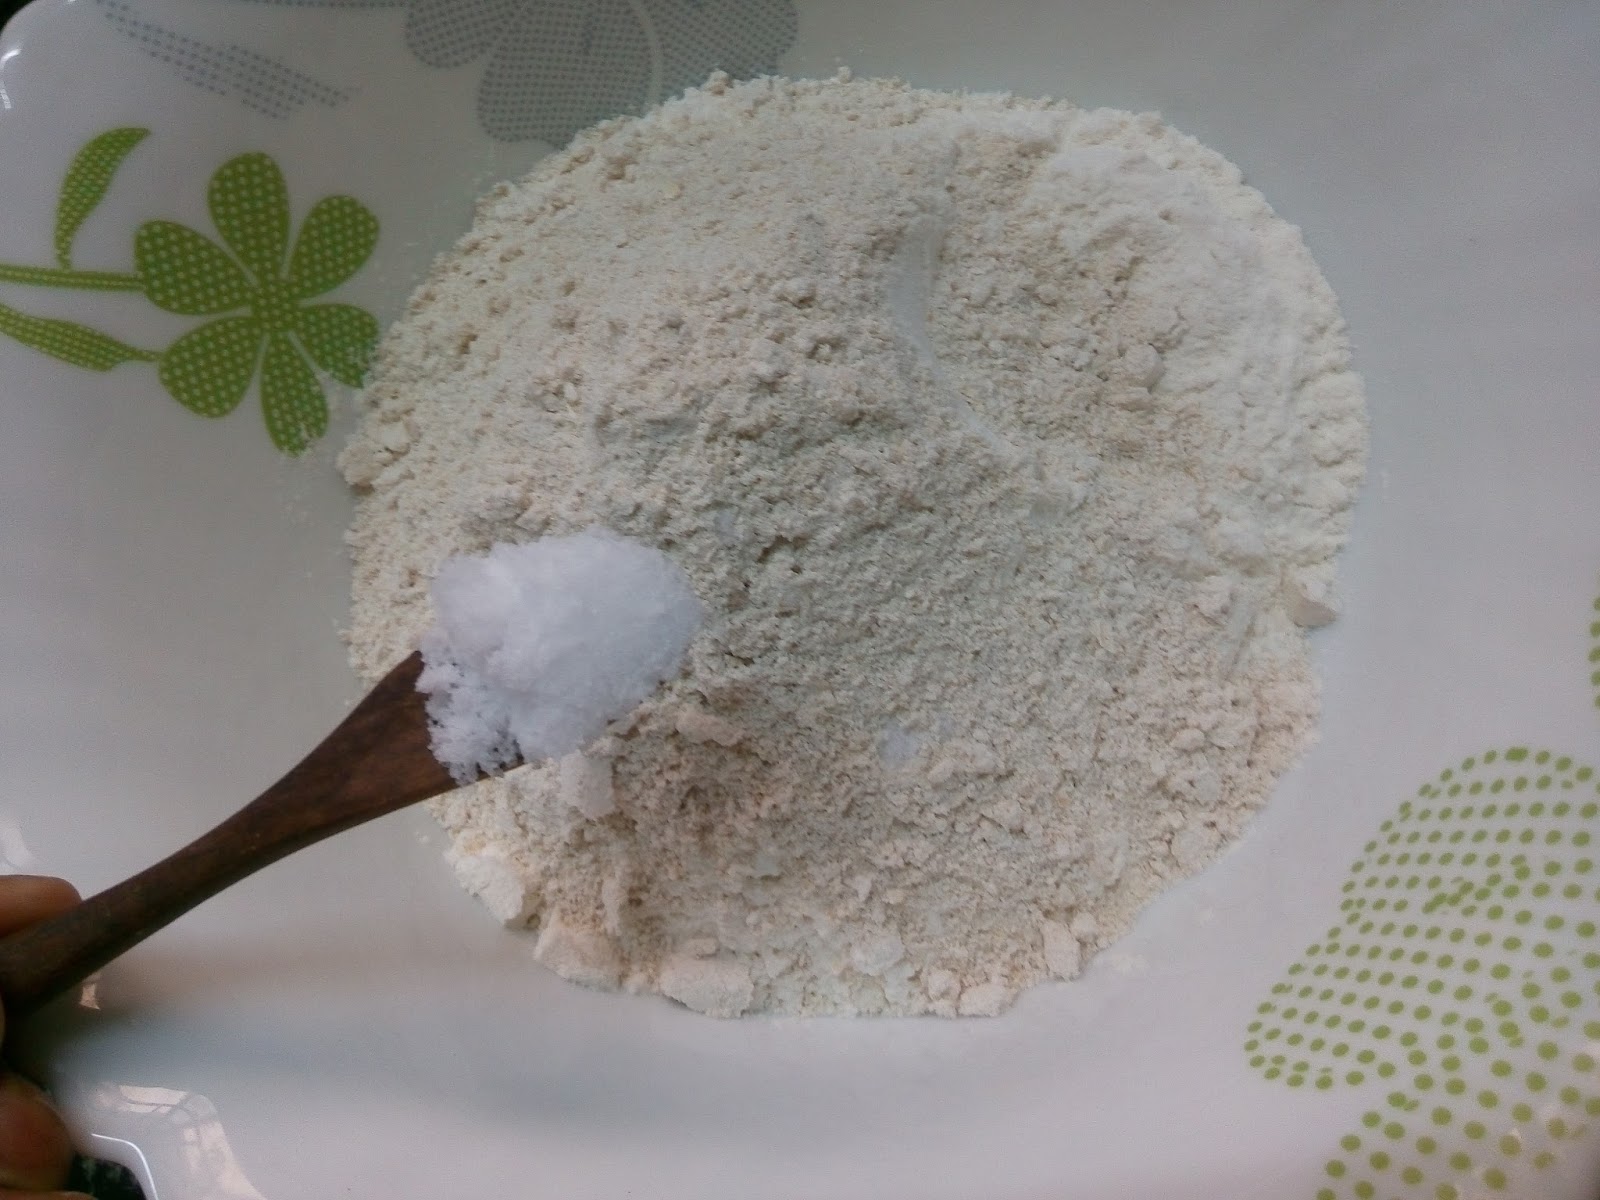
- Add a teaspoon of salt to the flour mix
- Now pour the frothy yeast mixture into the flour mix

- Add about half a cup of milk into the bowl and start mixing the flour. After that add the remaining milk a tablespoon at a time. We are looking for a slightly sticky dough here. So keep adding milk as needed till you get to form a sticky mass
- Knead for a few minutes till everything start coming together and the dough starts to pull off from the sides of the bowl


- Transfer the sticky dough to your work surface

- Add a tablespoon of oil to the dough and start kneading. Add another tablespoon of oil when you are midway through. I use the push and turn (from jennycancook) method to knead the dough at this step. I do almost 100-150 turns which takes about 10 minutes or little longer than that

- Check the dough for window pane test. If through then go to the next step else knead a little longer. For the window pane test pinch out a little dough and start stretching it with your fingers. You should be able to stretch it without tearing until you can see light passing through it. If the dough tears when testing then you will have to knead a little more and test again
- Oil the dough and the bowl generously with remaining oil. Place the dough in the bowl and cover it with a moist cloth or cling film

- Leave it to rest for about 45 minutes to one hour or until the dough has risen to double its volume

- Once the dough has risen well, punch down the air gently

- Transfer the dough to a work surface and roll the dough into a rectangle


- Start folding from the end with shorter length and start folding the dough tightly

- Roll the dough till end and the pinch the edges to seal the corners. Shape it into a log

- Transfer this gently into a grease loaf tin

- Gently brush with oil and sprinkle some oats on top of it(optional). You can milk wash too

- Cover with a moist cloth and let it rise in a warm place for another 45 minutes to one hour


- Bake it in a 180 degrees preheated oven for about 25-30 minutes or until top is golden brown. The bread should sound hollow when you tap the top. It will hard when out of the oven but dont worry once it cool down it will become soft


- Remove from oven and let it sit on the wire rack for few minutes
- After about five minutes remove the loaf from the tin and let it cool on the wire rack till it cools down completely
- Once completely cool slice the loaf and then gently pack it in any kind of plastic wrap to keep it fresh till you use it
- Serve your loved ones by making them their favourite sandwiches and toasts


Note:
- Dont overproof the dough
- The bread should not be soft when you take it out of the oven. It should be hard on top and should sound hollow when tapped on top
- Slice the bread only after it cools down completely else it tends to crumble


No comments:
Post a Comment