


Pav Bhaji is a great hit in almost everyones house and in our home they are no less. We love pav bhaji to the core and the kids are a very big fan too. After making breads at home I thought I should try making pav at home too since the method is almost the same. I gave it a try once and it was an instant success. From that time on we have never had store-bought pav buns
My kids are also very concerned about buying breads from outside, they are so used to homemade now that they insist in making some pav rather than indulging in store-bought ones. If kids are so particular then how can I not make it. Now we make these regularly and the whole family enjoys it to the core
The recipe is almost the same as bread except with a few variations here and there. I make pav two ways - which purely depends on my mood. I sometimes follow tangzhong method and sometimes regular. Both ways am happy with the results but sometimes I feel pavs made using tangzhong method are softer


Serve option... Hot with bhaji
This is what u'll need....
Maida / All-purpose flour - 3 cup
Milk powder - 1 + 1/2 tbspn
Salt - 1 tspn
Sugar - 1 tbspn
Butter - tbspn
Active dry yeast - 1 tspn
For Tangzhong ->
All purpose flour - 2 tbspn
Milk - 1/3 cup
Milk powder - 1 + 1/2 tbspn
Salt - 1 tspn
Sugar - 1 tbspn
Butter - tbspn
Active dry yeast - 1 tspn
For Tangzhong ->
All purpose flour - 2 tbspn
Milk - 1/3 cup
Here is the stir....
- The first step to baking any kind of bread is proofing the yeast. I always use active dry yeast in bread baking as that is the only one I have access to. Take half a cup of lukewarm water into a cup and add a tablespoon of sugar into it. Measure in a teaspoon of yeast into the cup and give it good mix. Keep this aside covered for about 10-15 minutes and the mixture will turn frothy. For detailed instructions and help of proofing yeast check out this link -> How to proof yeast

- When I started making breads, I used 2 teaspoon yeast everytime. They turned out good but I sometimes used to feel the yeasty smell. Now I have been using only 1 teaspoon. The dough doesnt rise as much during their resting times but they rise beautifully well during the baking time
- For preparing the tangzhong, mix 2 tablespoons of all-purpose flour and 1/3 cup of milk using a whisk. Place this mixture on medium flame and keep stirring until it starts to thicken. Turn off the heat when the mixture turns thick


- Keep this aside and let it cool completely. To make the task easier I let the proofing and tangzhong ready at the same time so that both are ready almost by the same time
- While the yeast is proofing and the tangzhong is cooling down, measure 3 cups of all-purpose flour into a wide bowl

- Spoon in 1 and half tablespoon of milk powder into the flour

- Add a teaspoon of salt

- Pour the frothy yeast mixture into the flour mix

- Transfer the tangzhong into the flour mix

- Start working with your fingers and pull all the ingredients together. It will initially look like a mess but dont worry that is how it is meant to be :)
- Add water little by little to the mixture and pull it all together to make a sticky dough but not too sticky


- Once the dough starts to come together add three tablespoons of butter to it. Make sure the butter is at room temperature

- Mix the butter well into the dough until well incorporated. The dough will look better and manageable by now


- Transfer the dough onto a clean space on your kitchen counter

- Knead the dough for a minimum of 10-12 minutes. Yes and no less than that. If you using a stand mixer then it might be easy but hand-kneading will need atleast a minimum of continuous 10 minutes kneading
- After 10 minutes of time check the dough for window-pane test. If it doesnt pass the window pane test, then continue kneading for another 2 minutes and check again

- Form the dough into a ball and transfer it to a well-greased bowl. Also cover the dough ball generously with oil


- Cover this and let it rest for about 45 minutes to an hour or until the dough doubles in volume

- Gently punch out the air from the dough and knead it for about a minute

- Roll out the dough into a rough rectangle. Use a pizza-cutter to cut the dough into equal size pieces. Some I get 18 pavs sometimes 20 .... depends


- Pick each piece and pull the corners of the dough together to form a ball and keep it aside. Do the same with all the pieces and keep them ready

- Now pick each piece and roll it firmly inside you hand to form a smooth ball. Place this on a baking tray. Arrange the pieces close together with very little distance


- Sometimes I bake in one tray and sometimes two

- Cover this with cling wrap and let this rise for another 35-40 mins


- During the last 10 minutes of second proofing preheat the oven at 180 degrees
- Once the pavs have risen well, brush them with milk
- Bake this for about 25 minutes. By this time the pavs would have gotten a beautiful golden colour on top
- The top of the pav will be hard when tapped. Dont worry thats perfect

- Remove it from the oven and let it sit for 5 mins
- Meanwhile apply butter on the hot pavs. This will make the pavs soft


- Once the baking tray is warm enough to handle turn the pavs onto the wiring and let it cool completely

- Once the buns are completely cooled down cover it with cling film until ready to use

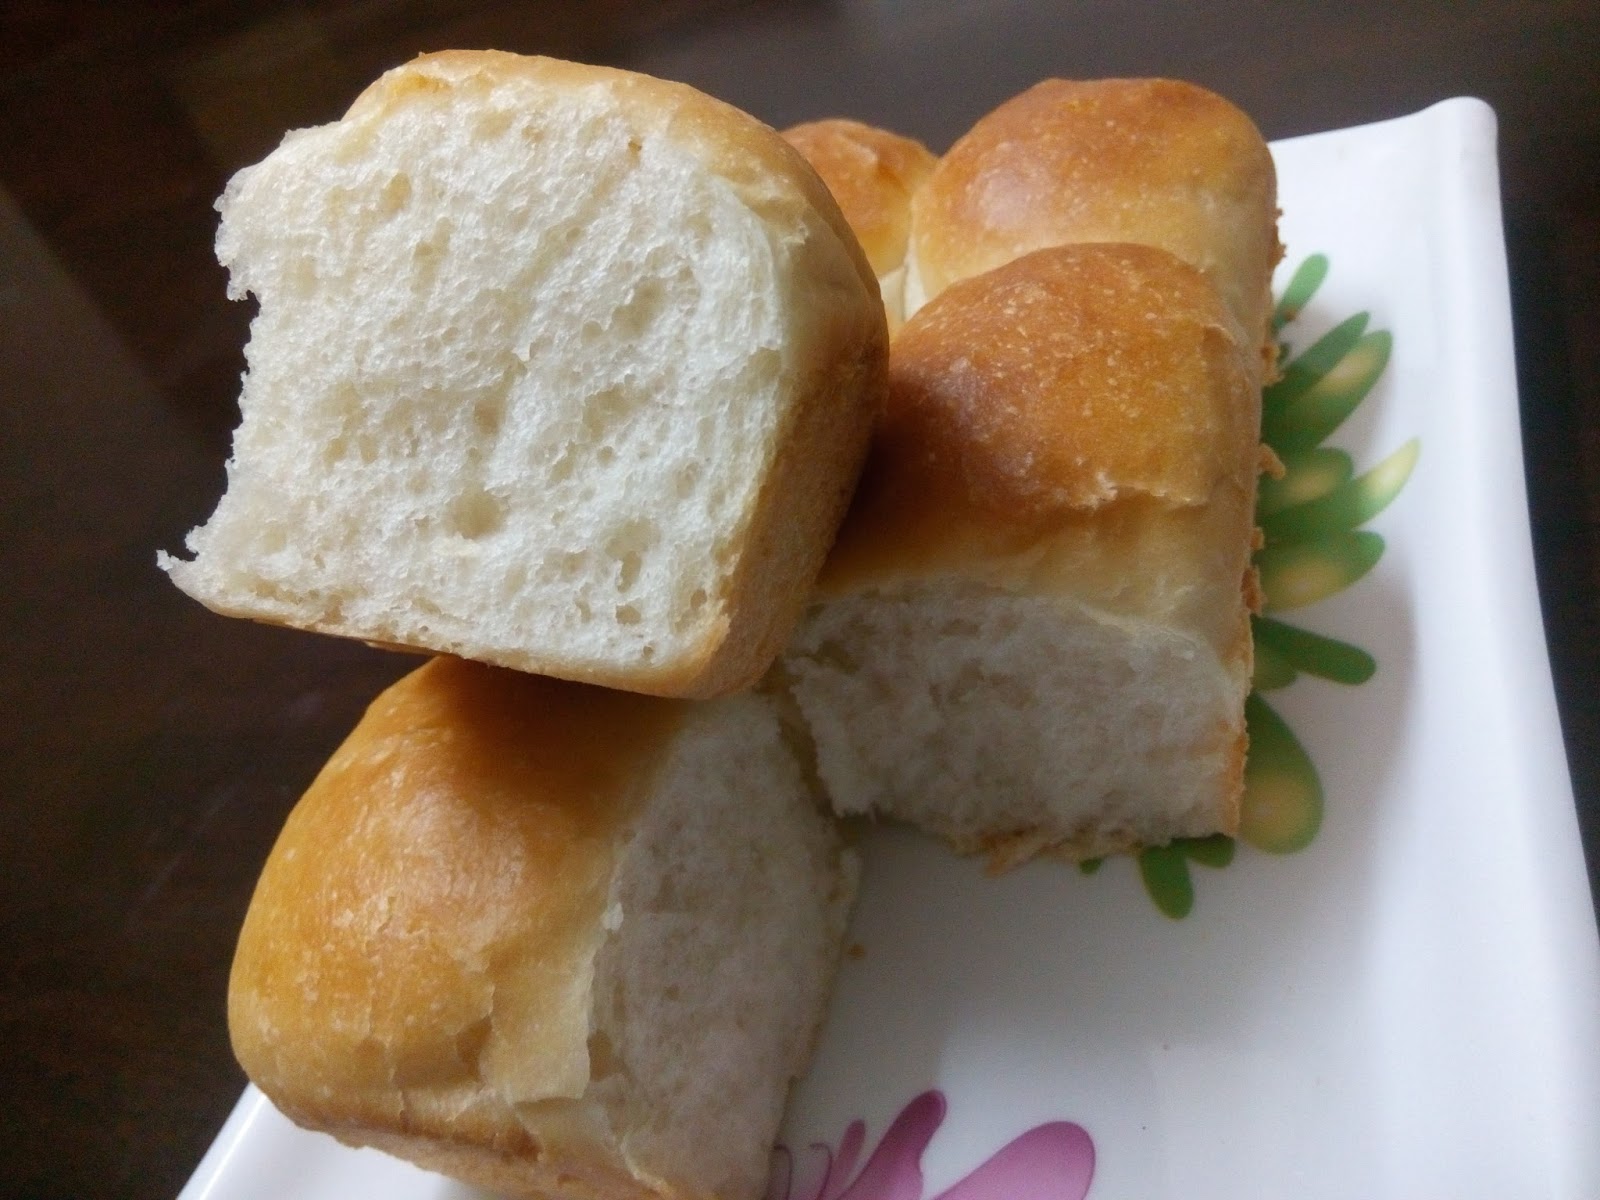
- The pavs will have layers when pulled apart. This shows how soft they are

- Serve how with spicy bhaji and enjoy with your family


Note:
- Remove the buns from baking tray 5 minutes after taking the tray out of the oven
- Apply butter generously to enjoy soft buns
- Brush with milk for a golden colour on top. You can also use milk+honey or egg to ht the same effect
- 1 teapoon of yeast should be good. The dough may rise a little than it would when using 2 tspn yeast but believe me the pavs much better when baking using this method


No comments:
Post a Comment